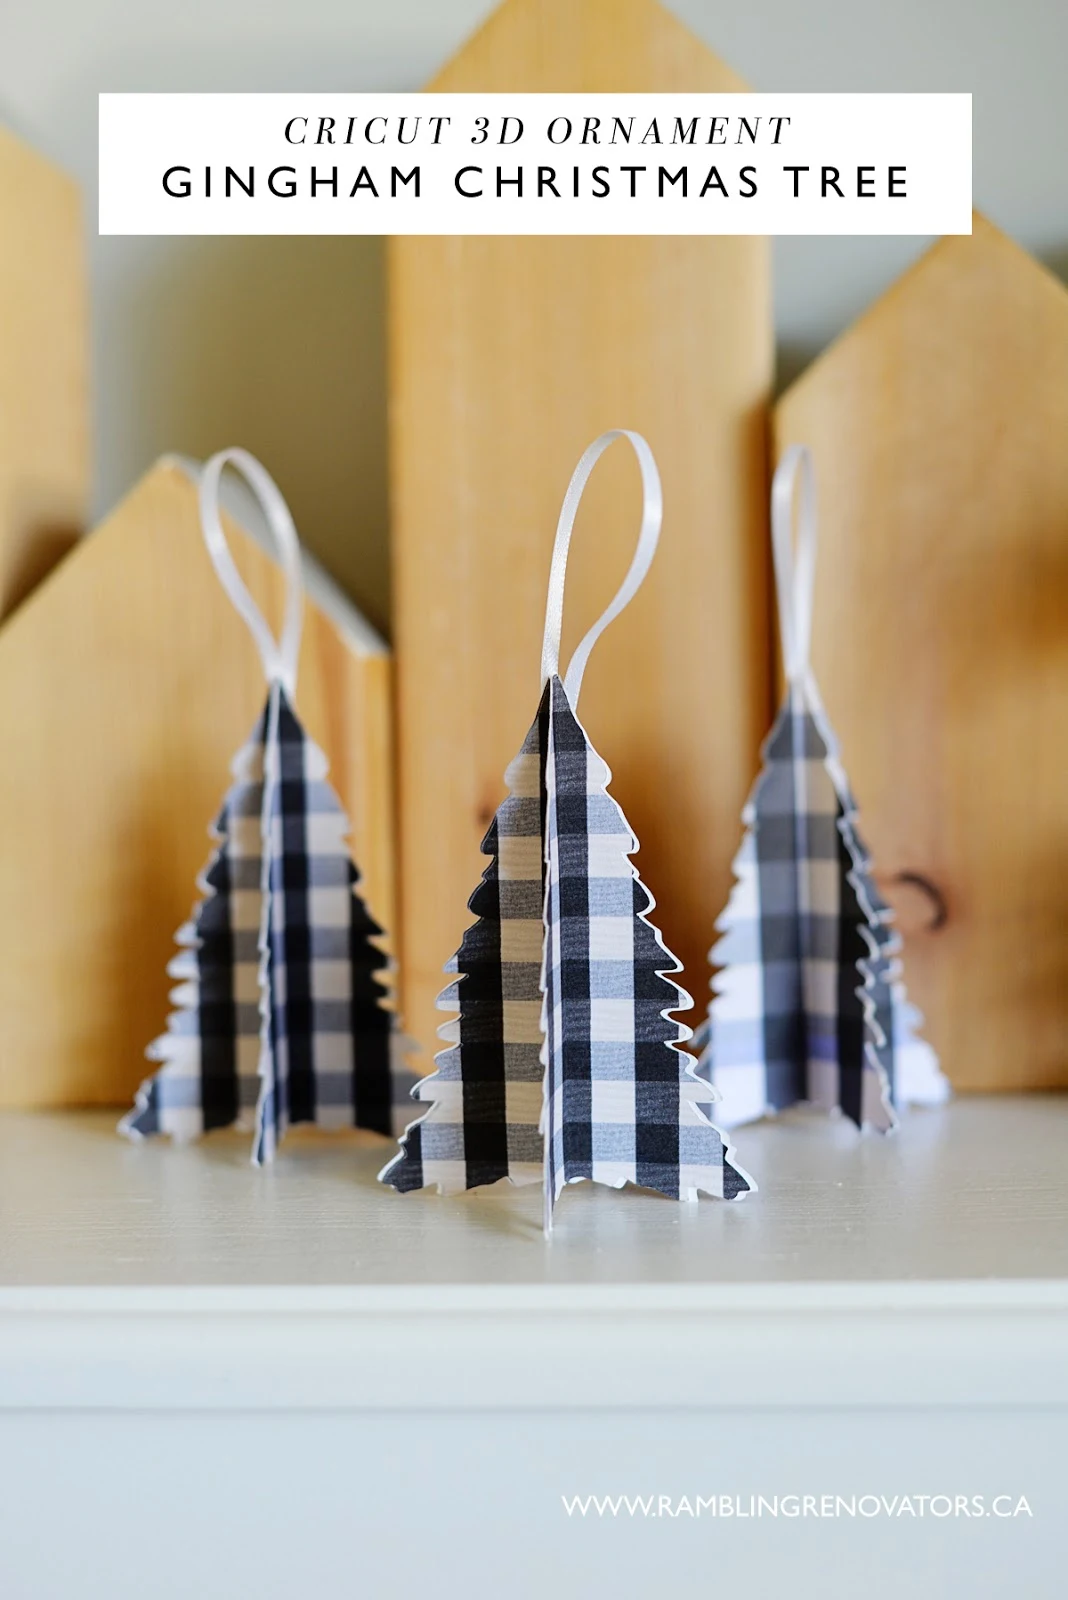
Cricut 3D Gingham Tree Ornament & Giveaway
I know, I should be packing moving boxes. But the holidays are coming and I couldn't resist a quick festive DIY. Or mayyybe I'm procrastinating ;)
At BlogPodium this year, I was fortunate to receive a Cricut Explore Air. I'll admit I was intimidated by it but Cricut makes it easy to jump right in. With thousands of free images and projects available for download, I was cutting up a storm in no time. There are so many Christmas crafts you can do with this machine... and you have the chance to win one! Contest details are below but first...
I'm happy to be joining a group of crafty bloggers today to share a Christmas ornament project you can do on a Cricut machine. Here's my Cricut 3D Gingham Tree Ornament.
I created this as a Print and Cut project - the gingham patterned tree is first printed on my home computer on a blank piece of paper, and then that printout is cut on the Cricut machine.
- Download the calibration sheet directly from the Cricut site (make sure none of the "L" shapes are cut off by your printer
- Make sure your printer is not set to "Fit to a page"
- Turn off any overhead lights. Ambient light makes it difficult for the sensor marks to be read properly.
Once you have calibrated the machine,
- Download the Cricut 3D Gingham Tree image here.
- Upload the image into Cricut Design Space as a simple image and erase the white space
- Save the image as a Print and Cut image.
- Select the image and insert it onto a blank canvas in Cricut Design Space. Edit the image size to 2.5" wide x 3.53" high. Copy and paste so that you have four trees on the 8.5"x11" page.
- Click Go and then print the images on your home printer.
6. Attach the printed paper to the Cricut mat. Insert the mat and click Go to cut the images.
7. Remove the excess paper. Remove the cut images from the mat.

Tip: to remove the cut images from the mat, I find it easier to flip the mat upside down and slowly roll the mat back as you hold onto the cut image.
8. Use a scoring tool to score a line down the middle of each tree.
9. Fold each tree with the pattern on the inside
10. Take two trees and glue one half of each together. The trees are symmetrical so you the edges should line up perfectly.
11. Take a loop of ribbon and tape or glue it to the back of the paired trees.
12. Take the remaining two trees and also glue one half of each together.
13. Take both pairs of trees and glue them together. You will end up with a tree with four sides.
And that's it! You can hang the trees on your Christmas tree or use them in a vignette (you can omit the ribbon loop).
Now that you've seen what the Cricut can do, it's time to enter to
win your own Cricut Explore Air 2!

a Rafflecopter giveaway
win your own Cricut Explore Air 2!
Good luck! Now check out the other great Christmas Cricut Ornaments
from my Canadian blogging friends!
from my Canadian blogging friends!
From top left, they are:


0 comments