
How To Install a DIY Paver Walkway
We're headed into the last unofficial weekend of the summer. Are you sad to
see the season go? I'm thrilled that we managed to finish off one last summer
project a few days ago. Let me share how we repaired and re-installed our DIY
paver walkway.

Before I share how we repaired and reinstalled our walkway, let me point out a
few things:
- Installing a walkway is a quick project and can be completed in just a few days
- A DIY paver walkway is a low cost project. The materials we used - paver stones and limestone screening - are inexpensive and readily available
- This is a very difficult, dirty, and back breaking project. It is not easy.
We installed this
DIY herringbone walkway shown below five years ago at our last house, and I vowed I would
never ever do a walkway again. Click over to see a video of that challenging project.

And yet here we are.
Somehow, I let my husband convince me that repairing an existing walkway would
be a lot easier than laying a brand new one. It didn't seem like it would be
too difficult. There would be no digging down required, we would only need to a buy a few new pavers for the steps, and all of the existing pavers
were already on site and cut to size.

Our existing walkway wasn't that bad, even if it was sinking and uneven, but
we knew it would only get worse. Grass and weeds were constantly growing
between the pavers and I had to keep on top of pulling them all out. Some of
the stones had sunken while others were being pushed up and separating. So,
with all this time at home during the pandemic, we decided to just tackle it.

The current walkway was sloped from the front door down to the driveway. It's
not really apparent in this image but the lawn also sloped upwards away from
the house; the boxwoods sat about half a foot lower than the grassy area on
the other side of the walkway. In addition, there was a strange concrete pad
area behind the boxwoods that sat high and level with the porch.
All in all, the porch/walkway/lawn area felt very disjointed and messy. Our
plan was to simplify the transitions, add in steps, and make the exterior feel
much more clean lined.
How To Install A Walkway With Pavers
Any walkway installation generally follows the same steps:
- Mark out your new walkway area with marking spray paint.
- Remove the old walkway
- Cut out any sod and remove plants that are in the way
- Dig down the entire walkway area about 8" below ground. Remove the dirt and grass and level the soil.
- Insert stakes around the perimeter of the walkway. Mark a level line on the stake indicating the top of the paver. Drop down from that line for the depth of the paver. Mark a second line. This line indicates the top of the paver base. You should have at least 6" from the base line to the bottom of the bed. Dig down deeper if you don't. Transpose these lines to the other stakes
- Lay down about 2" of base material. You can use a variety of materials - gravel, limestone screening, high performance bedding, stone dust - that can be obtained at a stone yard or hardware store. We prefer to use limestone screening as it compacts better. Use a plate compacter (you can rent them from Home Depot) to tamp and compact the material. Continue laying material and tamping down until you reach the bottom line on the stake.
- Add a final rough layer of limestone. Insert two long poles on either side of the walkway into the limestone. Get the poles level to the top of gravel line. Use a piece of lumber cut to the width of your walkway. Drag or "screed" the wood along the poles. This will create a level flat base on which to lay the pavers. Remove the poles and fill holes with additional limestone. Remember to give the walkway a gentle slope (1/8" per foot) away from your house to direct runoff.
- Use string lines to keep your edges straight. Start laying your border stones. Level the stones down with a rubber mallet.
- Use the tamper and run over the stones one last time.
-
Add
polymeric sand
in between the stones. Wet to help the sand set. Enjoy!
 |
| Sean used a length of baseboard to help transfer the level line (from the porch) to the stake |

|
|
Marked on the stake: Level (level line from the porch), 1" (slope for
runoff), TOB (top of brick paver), TOL (top of limestone base) |


But what if you only have a small area to repair and not the entire walkway -
is it the same process? You can just reset the stones to fix a problem area.
How to Fix A Sinking Walkway
- Lift and remove the sunken pavers
- Clean the paver
- Level the base with paver sand
- Re-lay the paver. Tamp and level the paver down with a rubber mallet
- Apply polymeric sand. Wet to set the sand.
For our project, we were using the existing pavers and the gravel base was
sufficient so we didn't need to dig down. We simply removed the pavers and
then followed steps #5 onwards. However, we were doing away with the slope and
inserting steps into the walkway instead:

How to Create Steps In A Walkway
There are a few extra steps required when incorporating steps into a walkway:
- Calculate the difference between your top level (for us, at the porch) and your bottom level (at our driveway). In our scenario, the difference was 13"
- Calculate your total height for each step. This is comprised of the height of your tread (ours were 3"), the riser (ours were 4"), any slope (1") minus any over lap (1/2"). This gave us a height of about 6.5".
- Divide your difference by the step height. For our walkway, we could have two steps at 6.5".
We first laid and levelled the upper walkway portion. Then we laid the riser
and tread stone, backfilling with limestone screening to ensure a proper
overhang with the tread stone.

The lower level of the walkway was then built the same way, following the
steps identified earlier:
- Insert a stake and identify the level lines (top of paver, slope, top of limestone)
- Lay and tamp limestone up to the last line
- Lay pavers and add polymeric sand
One special thing we did was laying a plastic plumbing pipe beneath the
paver stones. There is an electrical outlet on the right side of the walkway
and we can use the plumbing pipe to carry wires or an extension cord to the
boxwood side for outdoor lighting.


The new walkway has had a dramatic transformation. To complete the look, we
made a few other changes:
- We took the time to raise the boxwoods.
- We removed the half-dead Japanese maples and sod on the other side of the walkway which mostly contained grass cover and weeds.
- We transplanted some full grown hostas and garden stones from our backyard.
- Lastly, we dug out the higher grass area at the corner where the walkway meets the driveway. For now it is just a dirt bed but perhaps we'll add a hydrangea tree or a lamp post to bring some vertical height, or re-sod the area.


***
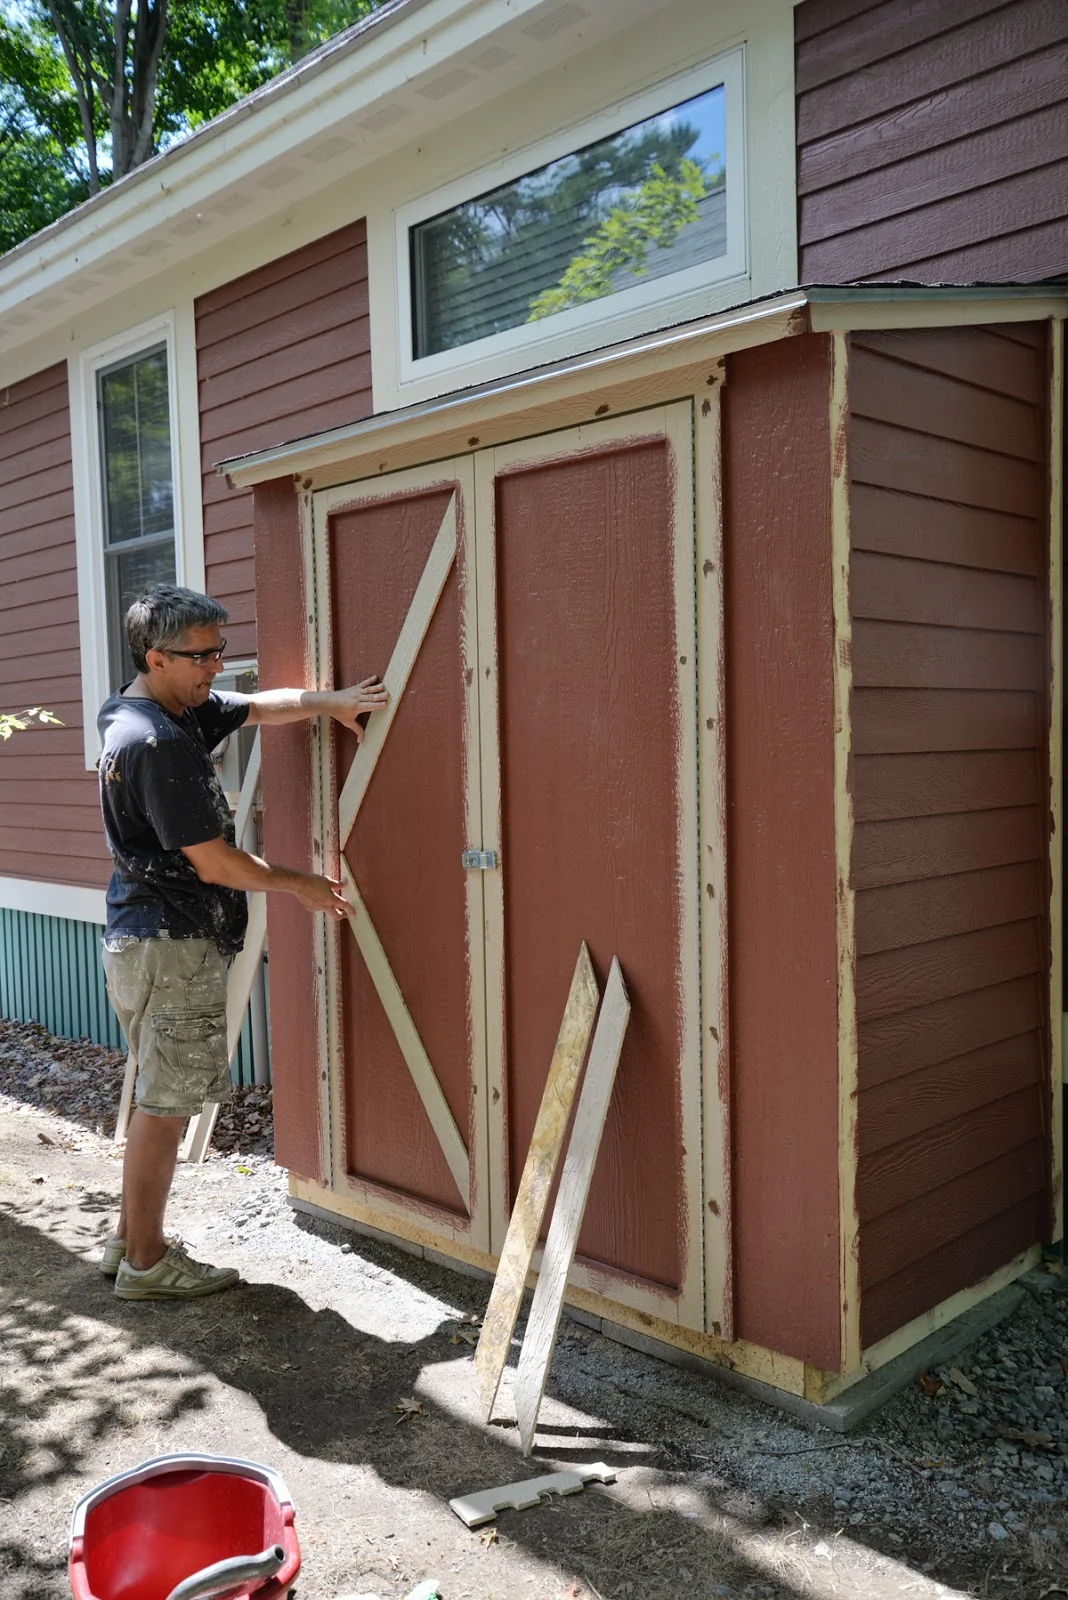 Building A Shed |
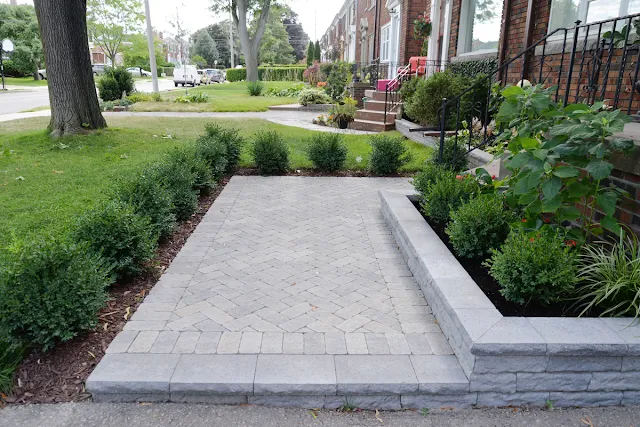 Small Front Garden |
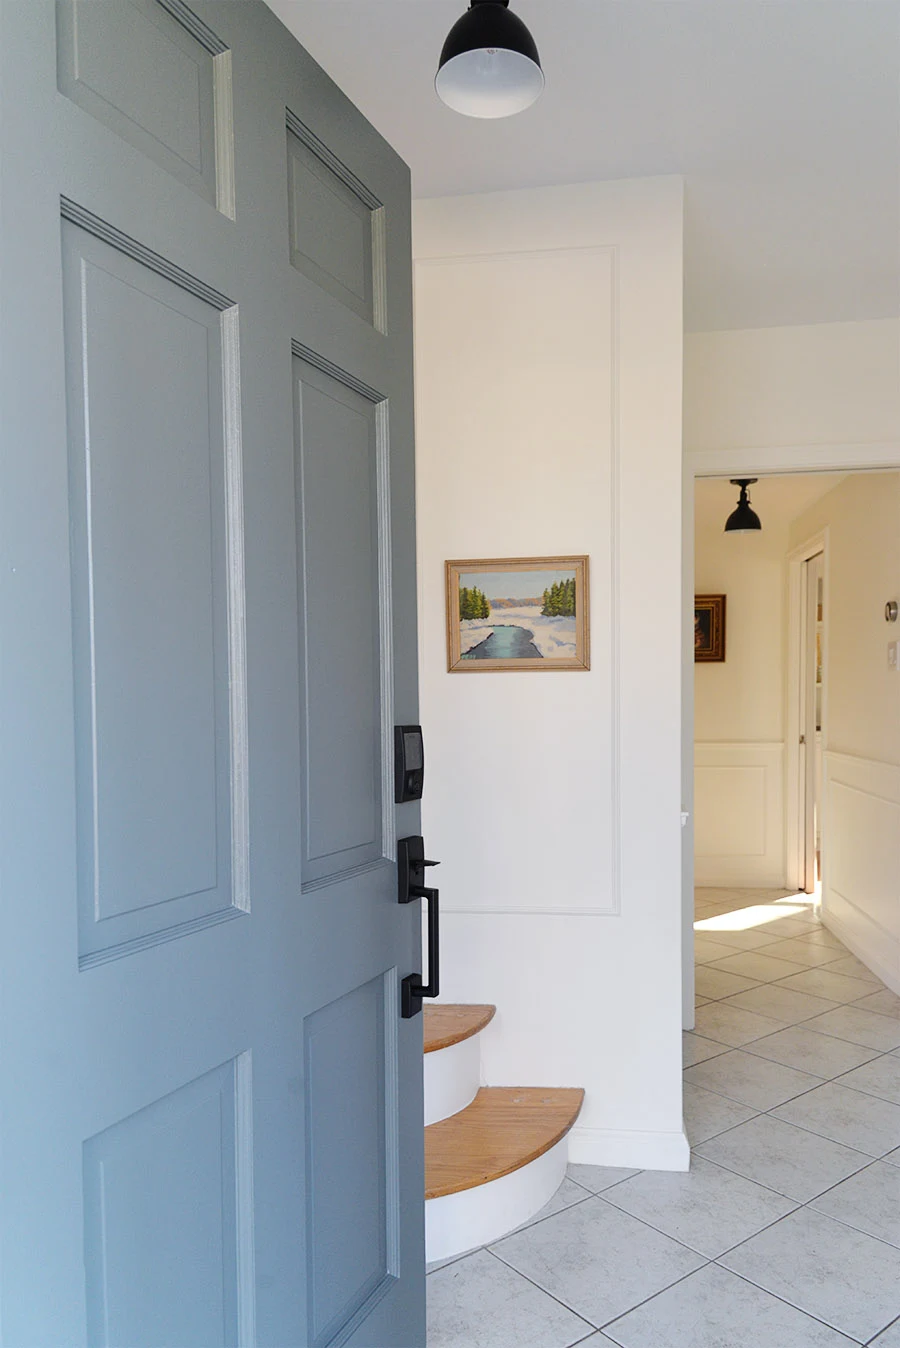 Front Door Refresh |


0 comments