ORC Week 8: A Laundry Room In Progress
It's Week 8 of the
One Room Challenge
and all around the world, DIYers are revealing their beautiful, finished
rooms. Everyone except us, that is.
If you're new to Rambling Renovators, welcome! My name is Jennifer. I
help people create functional and beautiful homes, I help brands create digital content strategies, and I've been writing
this blog since 2007. I live with my husband and daughter in Toronto,
Canada in a centre-plan, colonial style house that we've infused with the
fresh traditional style we love. We DIY all our renovations and have a
fondness for architectural details, built-ins, and classic decor. See our
home renovations here.
This weekly post is a few days late and it should be no surprise, but we
didn't finish our laundry room renovation on time. Correction - our laundry
room BUILD and RENOVATION. Because we built a friggin' room, people! From
scratch. From cement levelling to framing to drywall to painting to flooring.
Sean and I have never built a room before but I honestly thought "No problem.
We can finish that in eight weeks". I seriously underestimated the millions of
steps it would take. Construction professionals make it all look so easy,
don't they? Having been through the hard part now, I give carpenters and
drywallers the utmost respect. None of it was easy.
Building A Laundry Room
So before I show you where we are, let's revisit where we started. Here's the
view of the large laundry space. It had a utility area at one end and a
laundry and exercise space at the other.
The room had size going for it but little else. The ceiling was a mishmash of
drywall and particleboard, ductwork and exposed joists. The walls were
textured, stained, and featured exposed plumbing and electrical work.
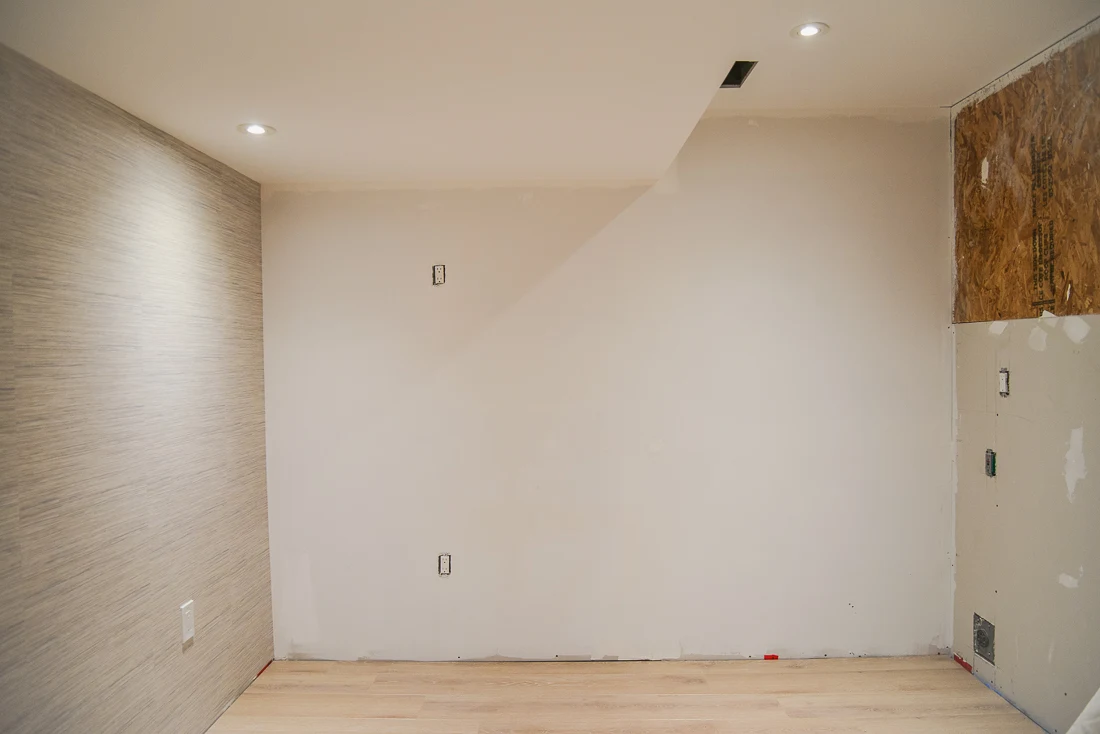
And this is the much cleaner but smaller laundry room now. Essentially, we've
built a room within a room. We added new framing to three of the four walls so
this new laundry room is compact in size, about 11'x10'.
The white wall will be covered in the same
peel and stick wallpaper
we have on the left wall. The wall on the right will be clad in cabinetry and
shiplap. For this reason, we used drywall and
OSB panels
as our substrate.
The OSB acts as blocking and provides a solid surface for the cabinetry to
screw into. The drywall won't be visible behind the shiplap and washer and
dryer so we didn't waste any money or effort to finish it with mudding and
taping.
Peel and Stick Wallpaper
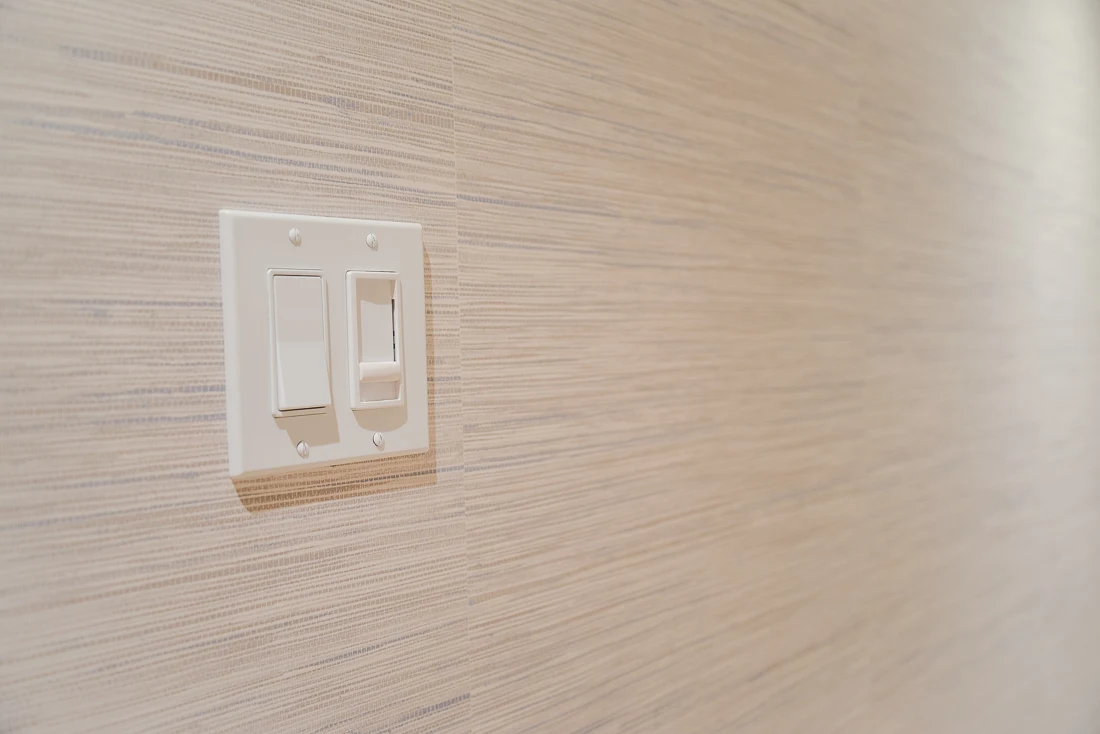
The GlucksteinElements peel and stick wallpaper
went on like a dream. I prefer the texture of traditional wallpaper (paste the wall wallpaper is the easiest kind
to work with) but for a quick, easy, and budget friendly solution, you can't
beat peel and stick wallpaper.
We've installed lots of wallpaper and each kind has its pros and cons.
I'd use peel and stick wallpaper:
- when you need fast installation
- when you need just a basic pattern
- when installing in a wet or moist area
- when installing in a high traffic zone and need a washable wallpaper
My most important tip - when installing any kind of wallpaper - is to have
two people do the install. One person can be measuring and cutting lengths
of wallpaper while the other person is pasting and adhering the paper to the
wall.
For peel and stick in particular, it also helps to have a second pair of
hands to hold the bottom of the paper so that it doesn't accidentally adhere
to itself.
Basement Laminate Flooring
Can we show a moment of appreciation for these laminate floors? We first
installed this flooring back in 2018 when we renovated our craft room. At the time, the flooring was kindly gifted by Beaulieu Canada and they provided us enough to do our future basement living room
as well. We had used Beaulieu Canada's laminate in our previous home and loved it and I knew I wanted it in this basement.
But life gets in the way and so we didn't finish the rest of the basement
until 2020. The laminate sat in a closet for two years until we had time
to create our coastal chic basement.
Which brings us to 2022. When we were planning this laundry room, we
discovered that we had five full boxes of flooring left which is about three
boxes short of what we needed. We also discovered that the flooring pattern
had been discontinued!
I didn't let that deter me though and was able to track down the last three
boxes of this flooring in existence! Installation went easily (see my tips for
installing laminate flooring
here) and it thrills me to see consistent flooring throughout our entire
basement.
Laundry Room Layout
Let's swing around and look at the other side of the room. Here's how it was
at the beginning. Along one side, we had ample room for the washing machines,
a folding table, and even shelving to store our paint. We used the other side
for our treadmill and mini freezer.
You'll notice how much of a disaster the ceiling was. The air ducts and
hanging lines for the air conditioner created an overhead jumble. We even had
a laundry chute duct in the ceiling to contend with. Additionally, the dryer
vent, plumbing stack in the corner, and a vertical duct on the wall really
gave this room a confusing shape.
But look at it now... everything has been hidden away behind clean drywall on
the ceiling and walls. I don't want to tell you how much time we spent
figuring out angles, heights, intersections and how to actually build this
ceiling. It was A LOT.
Though we have a slightly lower ceiling with three different ceiling
heights, it feels much better. Not bad for our first time framing a ceiling
and doing drywall!
So what's next? We'll finish the last of the wallpapering and move onto cabinetry. Cabinetry and shiplap will cover both of the remaining two walls.
The
assembled cabinetry (Hampton Bay from The Home Depot Canada in Edson Grey) is on site and
ready to go. Since the cabinets are assembled and finished on all sides,
installation will be as easy as putting them in place and screwing them to the
OSB. It should be done fairly quickly and will be a big factor in finally
making this space look like a laundry room.
The list of To Do's is getting shorter and shorter. Yay!
Now hop over to the One Room Challenge blog and see all of the amazing finished projects.


